You’re in Downward Facing Dog and the teacher asks you to take your right hand to your outer left leg … Say what?
Just wrapping your head around what’s being asked of you can throw you for a loop, now you’ve got to not only lift a hand in Down Dog, but also take said hand across your body to the outside of the opposite leg. Not an easy feat!
Twisting your Down Dog can be confusing, intimidating, and extremely uncomfortable. Follow these five tips for finding a more stability, freedom, and stamina in your Twisted Down Dog poses.
1. Widen and shorten your stance.
Before you even think about lifting a hand to twist your Downward Facing Dog, give yourself the stability of a wider foundation. Shorten your Dog Pose, taking a step or two up your mat (depending on your flexibility) and widen your feet outer hip distance apart.
If you’re new to twisting your Down Dog, it’s helpful to have your heels anchored. Feel free to walk your feet forward or hands back, coming into more of an Extended Forward Fold than a Downward Facing Dog Pose.
Pay attention to the shape of your back as you shorten your stance—bending the knees as necessary to keep a long spine. As you shorten your stance you may notice that your back begins to round up toward the ceiling, bringing the shoulders forward, and placing a lot of weight in the arms.
In order to keep the hips lifting up and back and the spine elongated, you must bend your knees, tilt your pelvis forward, and lengthen from your tailbone to the crown of your head.
2. Root down through the index finger and thumb.
Now that you’ve established the foundation of your base, bring your attention to the hand that will stay on the ground as your twist your Down Dog. Actually look at that hand, spreading your fingers and pressing down through the pads of your palms—firing up the hand and muscles of the forearm.
Even begin to claw the tips of your fingers down into the mat.
Pay close attention to what happens to the weight-bearing hand once you’ve twisted your Downward Facing Dog. Chances are the root, or pad, of your index finger has lifted from the mat, placing a lot of pressure on the outer wrist.
Do your best to root down through the inner edges of the hands, tacking your mat down with the pad of your index.
3. Keep knees bent and use your legs.
The biggest oversight newer yoga students make in their Downward Facing Dog is not using their legs.
Down Dog can be quite weight-bearing on the shoulders, arms and wrists—if you let it. Rather than relying solely on the strength of your arms to hold your Dog Pose, put more weight in your legs by using them to lift yourself back up and out of your wrists.
In Downward Facing Dog, with your feet parallel, lift your heels and bend your knees, tilting your pelvis and lifting your sitting bones as mentioned in tip number one. Press the very tops of your thighbones (up by the hip creases) back into your hamstrings, pulling your hamstrings to the back of the room.
Resist the tendency to press the backs of your knees to the back of the room, locking the legs and rounding the back. Keeping the knees at least slightly bent will allow you to press back the tops of your legs back stronger, bringing more weight into the legs.
As you maintain the action in your legs, lift from the center of your palms up your arm bones, drawing into the base of your heart. Twisting your Dog Pose only ups the ante! Use your legs by following the steps above and you’ll have more success.
4. Shift your hips center.
Now that you’re in your legs in your Twisted Downward Facing Dog (knees bent as necessary, tops of the thighs pressing back, pelvis lifting up and back), the hips need to be shifted back to the center.
Whichever is the weight-bearing hand, the hips and legs will shift in the same direction (if your left hand is down, hips will shift to the left). Notice which leg/foot became lighter, and shift your weight back into that leg, bringing the hips center once again.
With a solid, stable back in the legs, you will be able to create a deeper twist in the spine.
5. Externally rotate your upper arm.
Once you’ve gotten your hand to the outside of the opposite leg (no small feat I might add!), two misalignments happen: the inner edge of the weight-bearing arm turns in toward your neck, lifting the outer edge of the arm forward, and the outer shoulder blade wings off the back.
Keeping the inner edge of your weight-bearing hand planted, add a slight bend to your elbow and wrap it down toward your toes, engaging the outer shoulder blade onto your upper back.
Wrap the inner edge of the weight-bearing arm (the bicep side of the arm) forward and out to the outer edges of your arm—wrapping the tricep back, externally rotating the arm bone and widening your collar bone.
Keep pressing down through the pad of your index finger as you strongly pull the outer shoulder blade onto your back, allowing more space and freedom in the neck.
Now get on your mat, try these tips for your Twisted Downward Dog Pose, and share your experiences with me in the comments!
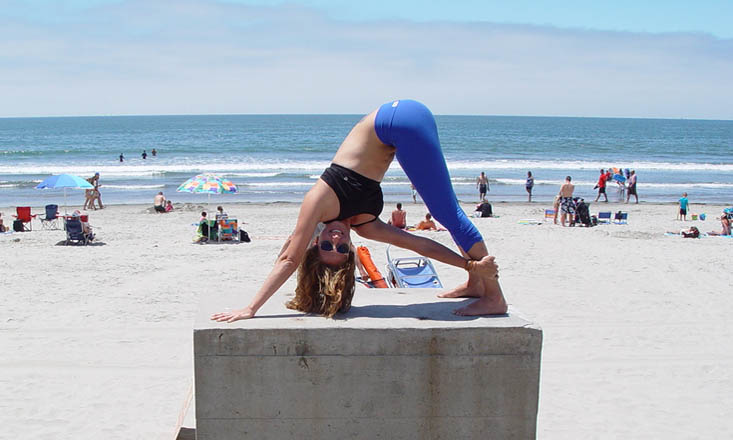
Image Credit: Meagan McCrary