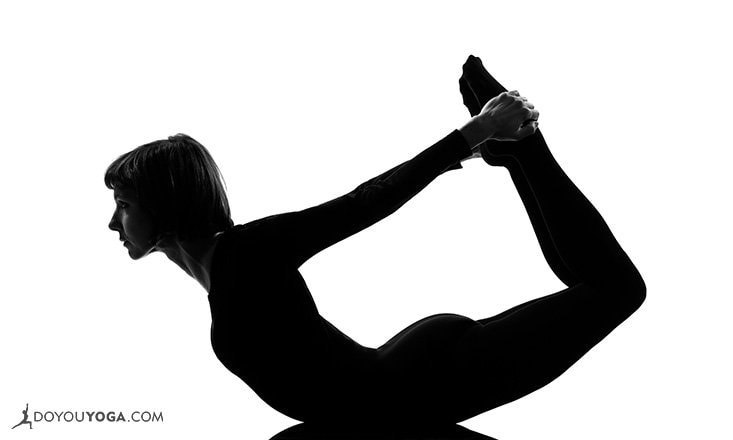
Bow pose (Dhanurasana) is aptly named to describe the curved shape of the body, which is similar to the shape of an archer’s bow with its string stretched taut, ready to release an arrow. Maintaining a strong intention and an unwavering commitment to staying true to your expression of the pose is the key to ensuring that your arrow meets the mark!
Physically, stretching out the chest and shoulders is an excellent exercise for those who sit hunched over a desk all day, and is also great preparation for more challenging backbends such as Wheel pose.
Benefits Of Bow Pose
Bow pose harnesses the dual action of opening up and stretching the front of the body, including the chest and shoulders, while strengthening the muscles of the back body. The pose also stretches the legs and hip flexors and stimulates the abdominal organs, which can aid with digestion and keep your metabolism going strong.
Energetically, backbends are stimulating and energizing, and serve as a wonderful antidote for stress and fatigue. Read on to learn how to do bow pose and how to stay safe in this posture.
Bow Pose Step-By-Step
- Begin lying on your belly, with your arms relaxed alongside your body, palms facing upwards, your legs extended straight back behind you and your forehead resting down on your mat.
- Bend your knees, bringing your heels in toward your buttocks. Reach your hands back and take a hold of your outer ankles. Flex your feet to protect your knees as you enter the pose.
- Begin to kick back strongly into your feet and find the action of pressing your shins toward the back of the room.
- Don’t let the knees begin to bow apart here — keep them hip-distance apart — and instead find the “bow” action in your body by bringing more lift into your torso and in your upper thighs. Lift your heels higher away from your buttocks and draw the tops of your shoulders away from your ears.
- Keep your chin parallel to the ground and your gaze directly ahead of you to avoid jamming into the back of the neck. Breathe fully and deeply into your back body.
- Remain in the pose for 5 breaths, then gently release your legs on an exhale and rest on your mat for several breaths with your arms alongside your body.
Practice Tips
- At first it may feel difficult to lift the upper thighs away from the floor. Simply work with pressing the back strongly into the feet and trust that eventually the openness will come. Tucking a rolled up blanket or bolster under the thighs may also help with finding the sensation of lift.
- If it is too challenging to take a hold of the ankles with the hands, loop a strap around the ankles and hold on to the ends of the strap instead.
- Use your breath to help lift your higher in this pose! Although it might feel challenging to breathe while lying on the belly, continue to breathe as fully and deeply as you can.
Note: There should be no pain in your knees or your low back in this pose! If you feel any pinching in your low back, ease off the backbend and focus on lengthening and extending the spine. If you feel pain in the knees, ensure that the knees are kept hip-distance apart and that the feet are flexed.