A lot of people turn to yoga after an injury — with good reason. Some turn to yoga to counteract the effects of miles and miles pounding the pavement, or when an overuse injury prevents them from training the way they usually do.
Yoga can do so much good for your body if practiced consciously, so it's important to keep our bodies safe.
It’s easy to compromise the knee joint in hip openers as we’re sometimes asking the knees to ‘twist’ (for lack of a better word) or simply move in an unusual way. So to help a yogi out, we’ve pulled together a couple of tips and tricks to keep ‘em safe in hip-opening yoga poses.
Warrior II
 While technically a standing posture, Warrior II is a beautiful hip strengthener and opener. It's really easy to misalign the front knee in this posture and cause unnecessary pain or tension. It is also a fantastic pose to strengthen all of those muscles evenly around the knee — crucial to keeping the knee joint healthy on and off the mat.
Once you enter the pose, gaze down at your front knee. Place it directly above your front ankle. Your kneecap should track directly in line with your second toe. If you’re just learning the proper alignment for your knees, feel free to take your front hand and actively demonstrate where your kneecap points.
We have a tendency to internally rotate, so actively adjust toward the outer edge of the foot, bringing the kneecap in line with the second toe.
Reclined Pigeon
 Credit: Julia Lee
Once you’re comfortable in the posture, flex the toes toward the knee (of the working leg). Find the perfect angle for your body today. If you’re on your mat with your head towards the back of the room and your feet toward the front, think about slightly angling your knee towards the back of the room if you have knee sensitivity.
If not, play with sending towards the front of the room to add intensity to your stretch. Adjust the pressure applied in the stretch to find the sweet spot between effort and ease.
One-Legged King Pigeon Pose
 Don’t let your ego get in the way of using blocks to find proper alignment in this posture. It’s important to equally distribute the weight between both hips to keep the knee from taking too much weight. It’s also important to find the appropriate angle of the front knee to prevent injury.
Once in the posture, flex the toes of the front foot toward the knee. Adjust the angle and position of the front ankle as necessary. This is where most knee pain stems from in this posture.
If your hips are tight, bring that front ankle closer in towards your pelvis. If your hips are open and supple, adjust the angle of the knee and send the ankle of the front foot closer to the opposite wrist. This ankle movement is responsible for the angle of the front knee, and therefore most of the pain associated with this posture.
When you have your optimal angle, make a very subtle movement — close your eyes and picture pulling both knees together. I know it sounds a bit out there as one knee is bent and facing forward while the other is extended behind you, but energetically pull them together. This will force your hips to take more of the weight of your body and square them off, which enables your knees to relax and melt into the mat.
Finally, knee pain in this posture can come from the extended leg. If that’s the case, tuck the toes of the back foot to take more of the weight and relieve some of the pressure. Make sure the leg is pointing straight back.
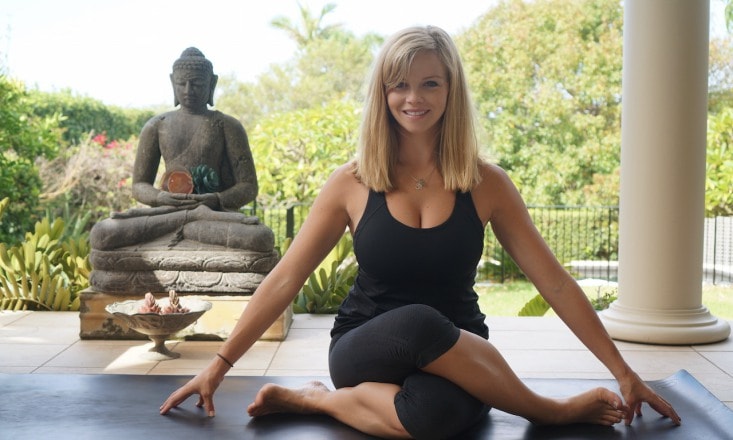
Cow Face Pose
 This is one of my favorite hip openers, but can cause discomfort if not eased into. If you know you have a knee injury, maybe steer clear of this one until it is better. If you have sensitivity, but not pain, try using a few props to find your sweet spot.
Elevate your hips to the same level as your knees with a blanket, block, or bolster. Try different heights to see what feels good in your body.
Another tip to keep the knees safe in this pose is to do one leg at a time — simply straighten the bottom leg and work the top leg. Once the hips open, there may be more accessibility in the knee to practice both knees at the same time.
And finally, if there is a lot of space between your knees, place a blanket, block or rolled up jumper underneath the top thigh to relieve some of the pressure.
General Tips and Tricks for Knee Safety
- The feet are a good indicator of proper alignment.
- Kneecap generally tracks in line with the second toe, but particularly in standing postures. (If you drew an imaginary line out from your kneecap, and one up from your second toe, the two lines would meet.)
- Knee generally lines up above the ankle (again, most of the time, but not always).
Props are your friend — blocks, blankets, wedges, your sweaty towel — all can help ease knee pain by helping you into proper alignment for your body. - Overall, building flexibility in the ankles and the hips first will help prevent some of the knee tension associated with asana.
- Be present — almost a given with yoga practice, but the more conscious you are and in tune with your body, the more aware you’ll be if you push your knee joint too far.
Since the knees don’t tell you right away if you’ve gone too far be sure to tune your inner radio frequency to the knees and notice the subtlest of signals as you practice.