Ranging from mild tenderness to severe distress caused by diseases like arthritis, hip pain is a common complaint among individuals of all ages. Persons with severe hip pain or pain radiating from an easily pinpointed spot (compared to noticing a generalized area of tightness) should seek proper medical attention before trying any of the following poses.
If like millions of people, the hip pain is mild and likely caused by stiffness of the muscles, try these all-abilities-friendly yoga poses to relieve hip pain. If you’re new to yoga, looking at these poses might make you feel a bit intimidated! Why not give this free 30 Day Yoga Challenge a try first. It will help ease you into a regular practice, so you get used to moving your hips.
Prior to practicing any of the following yoga poses, cultivate heat and movement in the body with 3-5 rounds of Surya Namaskar A (Sun Salutations A) and 3-5 rounds of Surya Namaskar B (Sun Salutations B).
For each of the poses below, feel free to hold for 5-10 breaths. Listen to your body and shorten or lengthen the practice based on how it feels best to you.
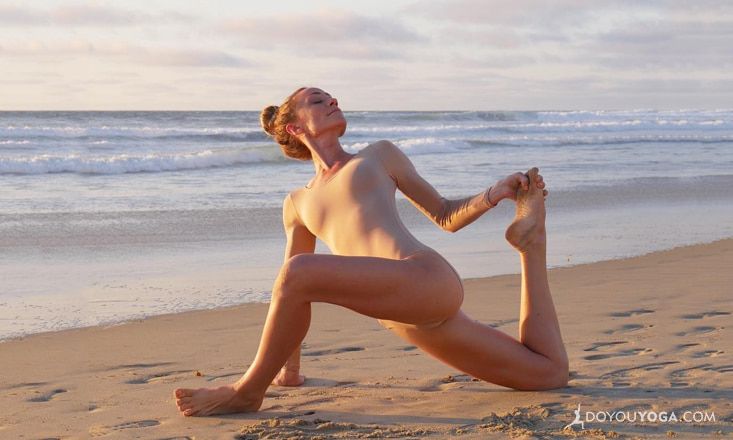
1. Parivrtta Anjaneyasana (Revolved Low Lunge Pose)
With the increase in sitting at work and at home, the hips are placed in constant flexion. Major muscles like the psoas major, iliacus, and rectus femoris—which aid in flexion at the hip—become shortened and tight.
Parivrtta Anjaneyasana stretches the deep muscles like the psoas major and iliacus to help counter a life of sitting in flexion. Reaching back with the opposite arm to foot help increase the stretch of the quadricep muscles like the rectus femoris.
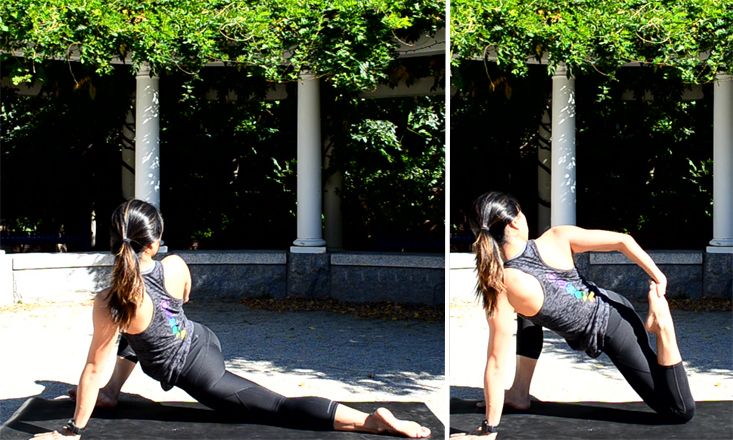
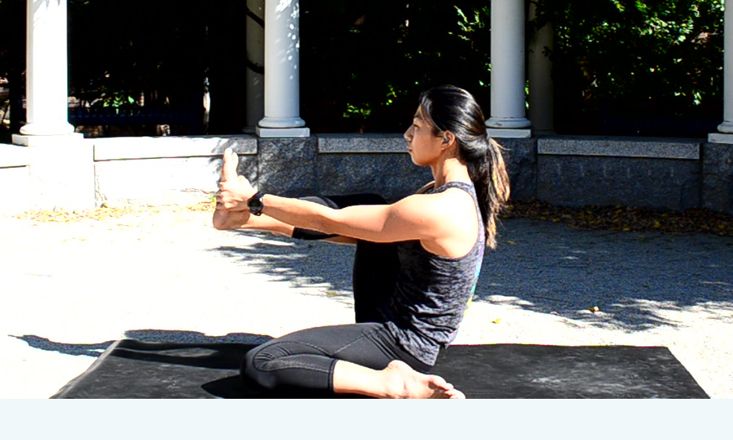
2. Figure 4 and Purvottanasana variations (Figure 4 and Table Top variations)

The hips are often metaphorically described like a bowl filled to the brim of water—it takes balance to make sure nothing spills. However, some life choices and habits, like wearing high heels, shift the body’s balance and tip the hips forward—leading to an anterior tilt of the pelvis, lordosis of the lower back, and posterior compression of the lumbar spine.
Something as seemingly harmless as slouching on the couch tips the hips backward and leads to a posterior tilt of the pelvis, kyphosis of the lower back, and anterior compression of the lumbar spine.
For yogis with more mobility, lifting into a variation of Purvottanasana can increase the sensation of the stretch. Practicing the Figure 4 stretch with a slight anterior tilt of the pelvis helps engage the spine and remind the body to shift weight equally into the sitz bones, as well as stretch the external and lateral rotators of the hip.
For yogis who experience discomfort and pain in Figure 4, releasing onto the floor for Thread the Needle pose is a great alternative. Focus on grabbing the back of the thigh rather than the front of the shin to protect the knee joint.
3. Eka Pada Rajakapotasana – Variation (Pigeon Pose)

Pigeon Pose variation of Eka Pada Rajakapotasana provides a very similar action and group of muscles stretched as Figure 4. This is the next step for students who have more open hips. Yogis with very tight hips should stick with Figure 4 or Thread the Needle to avoid placing unnecessary weight and harm on the outside of the knee, which can compensate for a tight hip.

To add on to the external and lateral rotation stretch at the hip, a lift of the chest and focus of the shoulders squared for the hips increases the stretch in the hip flexors, i.e. psoas major and iliacus muscles. Additionally, the bent leg in both Pigeon Pose and Figure 4 is working to open the inner thigh and often shortened and tight adductor muscles.
4. Baddha Konasana (Bound Angle Pose)

While the previous poses have asymmetrically examined one hip at a time, Baddha Konasana offers a symmetrical pose to notice the balance in the body. This is a great stretch for the adductors. For some yogis, this posture might feel unbearable, so starting in Supta Baddha Konasana (Reclining Bound Angle) is recommended if your hips are really tight.
5. Janu Sirsasana (Head-to-Knee Pose)

While hip pain is the common denominator, the manifestations can include discomfort in the thighs, inside of the hip joint and groin, and outside of the hip joint and buttocks. Janu Sirsasana tenderly addresses all those points.
This posture also asymmetrically stretches the hamstring muscles, which tend to be overworked when the hip extensors (like the glutes) are weakened due to sitting for prolonged periods of time.
6. Virasana – Variations (Half Hero Pose)
This pose seems simple, but it offers a great deal of bang for your buck. Preparatory for Krounchasana, these variations of Virasana are powerful standalone poses.

While one knee is tucked away in half Virasana, providing a stretch for the quadricep muscles, the other knee is reaching toward the chest, stretching the hamstring muscles. When the knee is cradled by the arms, the external and lateral rotators are given a little extra love.
Additionally, a very gentle rocking of the leg and body with the intention of self-love provides a time of pause and nourishment in the practice.
7. Bharadvajasana – Variation

Unofficially named “Splatter Paint” by one of my teachers, this pose offers a gentle twist in the spine and release of the compression often carried in the lower back. It also offers a stretch for the abductors and internal and medial rotators, like the gluteus medius and minimus.
8. Knocked Knees

A gentle releaser after lots of external and lateral rotator stretches and adductor work, the knocked knees action is more of a passive release than muscle activator. Practicing the pose reclined offers more of a passive quality and slows down the heart rate. Practice with the feet about mat-distance apart and softly release the knees together.
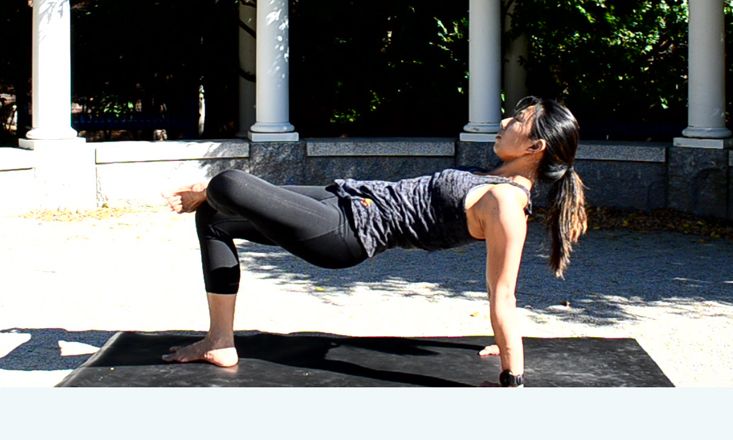
9. Supta Garudasana – Leg variation (Reclining Eagle Pose)

Rather than have the legs work and fire up in standing Garudasana or Eagle pose, the reclined version with just a leg twist invites a deeper quality to the stretch of the powerhouse muscles of the glutes.
Additionally, with the arms open in a t-shape, the shoulder blades can stay rooted and flat on the floor to provide a deep twist of the spine. Gaze in the opposite direction of where the legs fall to increase the spinal twist, or look the same direction as the knees to create a little less twist and a more restorative quality to the pose.
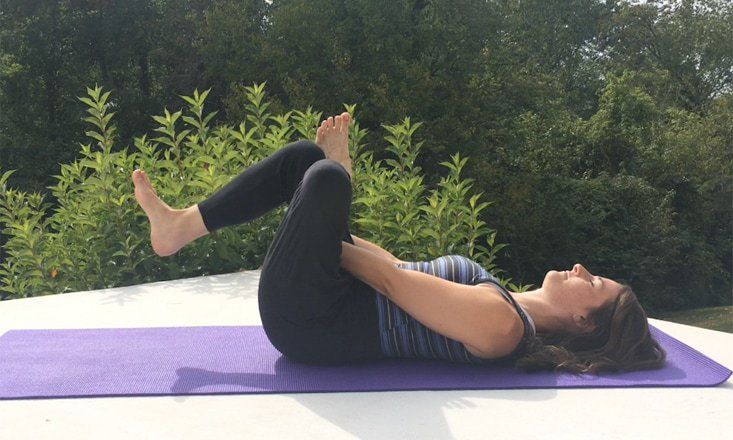
10. Ananda Balasana (Happy Baby Pose)

Finally, ananda (happiness or bliss), after moving the hips all over the place! Rest on the back and gently bring the knees to the armpits. Eventually, the thighs will melt to the floor beside the ribs. Foster more intentional breath here and think about slowly melting tension from the hips.
After 3-5 breaths, find your way into a well deserved and important Savasana. Stay in Savasana for a minimum of 5-10 minutes.
In Conclusion
A side effect of practicing hip openers is a release of deep-rooted emotions in the body. A helpful tool for grounding is to place an index card of your favorite mantra and/or a sacred item to the front of your yoga mat and focus on those items if/when emotions flood through your body.
The hip joint is often considered the strongest joint in the body as well as being one of the most mobile because of its nature as a ball-and-socket joint. While able to withstand normal wear and tear, the hips are not indestructible. It is important to balance stretching with strengthening the muscles of the hips to reduce and minimize future hip pain.
Help our community grow in knowledge and strength and feel free to share ways this practice helps you as well as ways you have helped reduce or minimize your hip pain!
Image Credit: Heather Gjerde