Many aches and pains that we suffer – in our yoga practice and in daily life – come not from acute injury but from doing something over and over with poor alignment. The cumulative stress builds until eventually, the smallest straw breaks the camel’s back.
As a yoga teacher, I see and correct small misalignments in every class that may not cause any pain in the moment, but if repeated a hundred times, can lead to serious injuries. At particular risk for injuries are our joints.
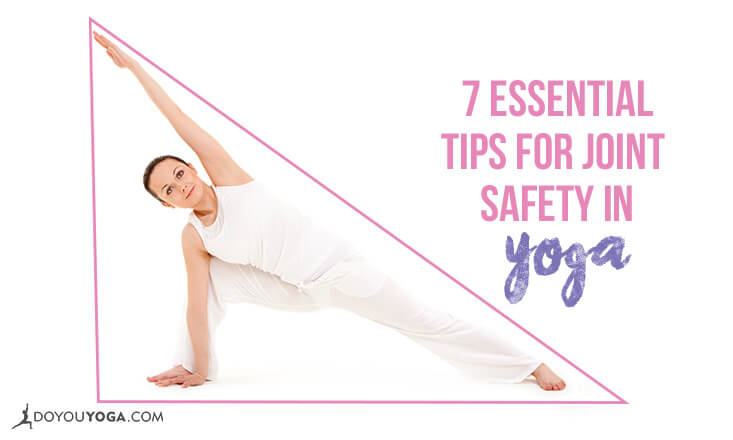
We ask these delicate structures to support our body weight in myriad wonderful shapes during our practice, and it’s vital that we know how to do so safely. Whether you’re caring for an injury or hoping to prevent one, use these tips during your next asana practice to help ensure joint safety in yoga.
1. Always keep your knees pointing in line with your second toes.
This is a good rule-of-thumb for all poses — whether your legs are straight or bent, bearing weight or not — track the center of your knee in line with the second and third toes.
2. In bent-knee standing poses, keep the weight in the heels; in straight-legged standing poses, shift your weight forward towards the toes.
When standing with one or both knees bent (for example: Utkatasana, Virabhadrasana I and II), root firmly into the heel. When the legs are straight, on the other hand (like in Tadasana, Uttanasana, Trikonasana), press more weight into the ball of the foot and draw the kneecaps up the thighs.
3. Use props to eliminate knee pain from deep flexion or pressure.
If you experience pain when your knees are bent deeply, use a prop to reduce the severity of the knee angle. In Virasana or Hero Pose, sit on a block between your heels, and in Balasana (Child's Pose), roll a blanket and place it behind the knees.
If kneeling puts too much pressure on the kneecap (like in Tabletop or Anjaneyasana), use a blanket to soften the surface.
4. Get out of hyperextension in the knees and elbows by engaging the muscles for support.
If the knee and elbow joints hyperextend, it means that the ligaments are lax and are allowing them to move “beyond straight” into a locked position.
Put a micro-bend into the joint, and then firm the surrounding muscles to bring the bones to “truly straight” and supported. For the knees, draw all the thigh muscles up towards the hips, and for the arms, engage the biceps and triceps.
5. Make your Chaturanga arms 90 degrees and hug them in.
When you lower into Chaturanga Dandasana, it’s very important that the upper arm and forearm bones create a 90° angle. This means keeping the elbows directly above (not behind) the wrists, and firming the upper arms into the side body.
6. Create a stable and safe foundation with the hands.
In weight-bearing poses (like Downward Facing Dog and Plank), position your hands so that the wrist creases are parallel to the front edge of your mat. Spread your fingers wide, and press firmly into each knuckle to avoid slamming your weight into the base of your wrists.
7. Give your wrists a break by modifying.
If you’re caring for an injury, or your wrists feel sore, consider moving onto your fists (in Tabletop) or forearms (Plank, Downward Facing Dog) to give the wrists a breather.
These tips address some of the most common issues I see in my classes, but are just the beginning when it comes to joint safety. With mindfulness and attention to alignment, you can protect your joints and enjoy a healthy practice for years to come.