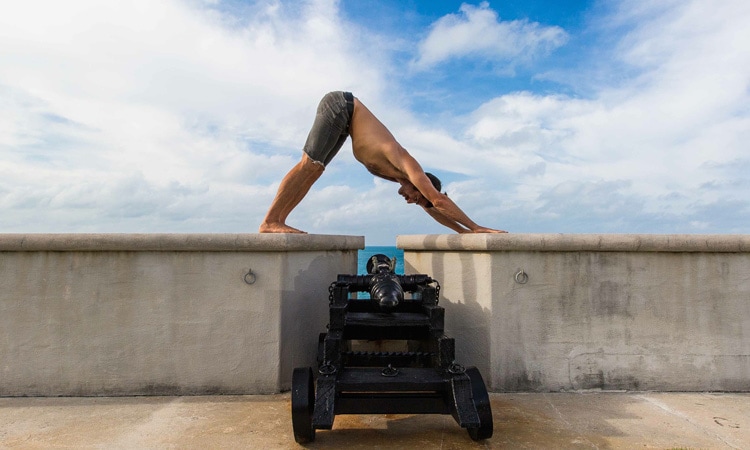
Pronounced Ahd-ho MOO-kahshvon-AHS-anna
Advo = downward
mukha = face
svana = dog
Fun Fact: A dog’s only sweat glands are located between their paw pads. This makes even more sense when one tries to practice this posture on a sweaty mat.
Benefits
- Opens shoulders, back, legs, and ankles
- Strengthens arms, back, and feet
- Gentle(ish) inversion
- Energizing!
- Eventually becomes a rest pose, which is nice.
Contraindications/Cautions
- Injured Back? This pose can put a lot of stress and tension on a tight your lower back.
- Wrist Issues? Full extension into the arms can easily tweak your situation.
- Pregnant? Dynamic stretch and movement while lying on your stomach isn’t a great idea.
Step by Step
(from hands and knees AKA Tabletop Position)
- Inhale: Pour weightfully into hands (from base of palm through fingertip) to engage forearms. Spread tucked toes to activate feet.
- Beginning of Exhale: Press into hands and feet to move hips towards heels (as if moving towards Child’s pose). Keep gaze towards floor and neck neutral
- Middle of Exhale: Extend into legs to raise hips. Keep fingers firmly rooted into mat
- End of Exhale: Spread toes, fully extend elbows, heels drop towards floor, back of the knees continually open.
- Continue Breathing. Now we can get nerdy…
Pinnacle Body Position
- Hands towards the front of the mat, feet towards the back
- Hands slightly wider than the shoulders, feet slightly more narrow than the hips
- The knuckle of the “peace fingers” (pointer and middle) line up with the outsides of the wrist.
- Ears in line with arms, elbow creases rotated in to face each other
- Top of head extending towards hands
- Navel drawn up and in towards spine, away from shirt
- Ankle bones lifted (leveling an imaginary skewer passed through both parallel to the floor)
- Heels drop towards the floor
- Freakin’ breathe, already…geez!
Modifications & Props
- Painful Wrists? Fold the front of your mat up once or twice, and place raised edge under palms. This reduces flexion and aids in pouring weight through fingers.
- Tight hamstrings? Keep a slight bend in the knees (as slight as you need, of course)
- Tight Shoulders? Play with hand position in relation to shoulder width (wider or more narrow), as well as distance of hands towards/away from feet.
- Can’t fully extend arms? Don’t! Work towards your fullest extension. They will open up over time.
Tips for Beginners
The key to enjoying Downward Dog is patience. For those just starting out, know that this initially torturous pose eventually becomes a rest posture. Just how long it takes to make that jump depends on two things:
- Your body’s ability to release long-standing patterns of tension while building the necessary supportive strength to hold shape
- Your mind’s ability to suffer through all of the doubt and frustration that invariably rises up during that process.
Focus more on the long line from wrists to hips than the line from hips to heels. Translation: Knees can stay bent if necessary. This goes for tight calves and shoulders. Don’t force the shape—move to the edge of your flexibility and use the breath to expand past it.
Deepen the Pose
- Lift the heels (while keeping the knees straight). This opens the feet.
- Bend the knees until they almost touch the floor. Your tailbone will lower towards the heels, which should be lifted. Draw your core in. Hold that for a while
- Lift a leg. Ob-v
- Tuck knee to nose, chin to chest. Wheeeeeeeee.
- Lower down into Dolphin (forearms grounded). Elevator back up when you’re done.
Image credit: BeyondDrishti.com