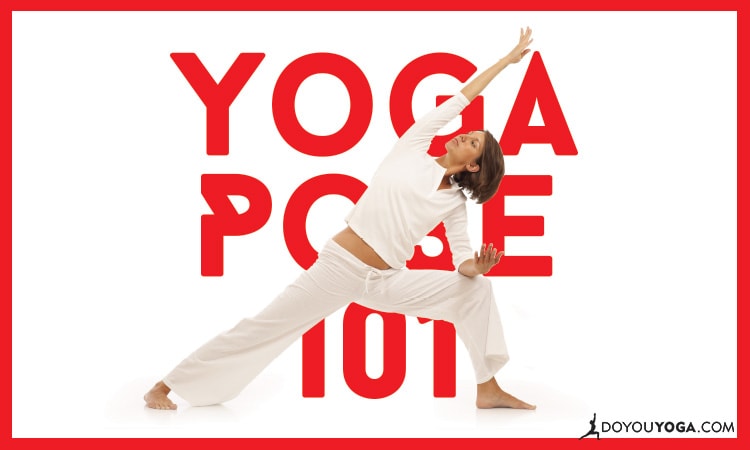
Extended Side Angle Pose or Utthita Parsvakonasana, pronounced as oo-tee-tah parsh-vah-cone-ahs-anna
Fun Fact: The stick figure is commonly regarded as one of the first examples of art known to man. Commonly composed of lines (bones), dots (joints and whatnot), and circles (head, hands, feet), a stick figure is as simple a rendering of the human anatomy can get before becoming too esoteric or, well… incorrect.
Drishti: Hastagrai (towards the hand)
Benefits
- Strengthens the back and (great party yoga trick)
- Brings awareness to the feet for increased stability
- Improves balance (especially when perched on your tailbone)
- Opens hips and side body
- Helps to connect with alignment and breath
Contraindications/Cautions
- High blood pressure – always be mindful of keeping the arms raised in line or above the heart for extended periods of time
- Lower Back Pain – Make sure to adjust your legs to relieve pain or pressure until your body is ready to move farther
- Stomach Issues – If you’re experiencing severe borborygmus or tenesmus, one would see the obvious value to avoiding this or other core-engaging postures.
Step-by-Step
From Warrior II with RIGHT (R) leg forward:
- Bring your R elbow down to front knee
- INHALE: Left (L) arm up directly up towards the sky
- Try to connect one long line of stacked bones: R heel, R knee, R elbow, R shoulder, L shoulder, L elbow, L wrist
- Tone belly by drawing navel in towards your spine (away from your shirt, if you’re into that kind of thing) and extend tailbone/pelvis towards L heel
- Keep R knee floating directly above R ankle!
- Maintain an active R hand, avoiding flaccid fish fingers
- Feel the lower ribs (R) rotate around the spine towards R thigh
- EXHALE: Extend L arm over top ear diagonally from the L heel make a straight line with left side of your body.
- Lengthen from tailbone to the top of the head, from the outside of the L foot to the tips of the L fingers
- Draw shoulder blades down spine to elongate neck.
- Extend the corners of your mouth toward the earlobes (smileasana)
Modifications
If you experience chronic back pain and/or have a set of tight hamstrings/hips, you’ve got options. Try shortening the distance between the feet. Heck, you can even take the feet out of line. The most important thing to focus on is creating length while being able to breathe. Work towards fully extending the back leg and top arm as best you can. Let the spine and neck feel fully elongated.
In order to do this, you’ve got to feel grounded in the feet and hands. If you’re collapsing in the lower ribs or side body, use a prop (block/chair/log/upside-down trashcan) to comfortably extend your reach.
Beginners Tip: I always imagine that I’m a stick figure in this pose. My lines (bones) expand with every inhale, and my dots (joints) support that energy on the exhale.
Deepen the Pose
Work towards lowering your bottom hand to the ground. Personally, I think it doesn’t matter which side of the foot you put it on—either way, try gently pressing the leg and arm into each other to help activate the muscles-bone connection.
Feeling frisky? Extend the bottom arm parallel with the top on. This places all of your gravity into the feet, strongly activating the torso and making your groan much, much easier. You can try to envision a beach ball pressed between your outstretched hands. After a few breaths, however, that bad boy is going to turn into a cinderblock. Enjoy your face off, you yoga monster.