Warrior II pose (Virabhadrasana II) is aptly named after a fierce warrior named Virabhadra. According to legend, Virabhadra had a thousand heads, a thousand eyes, a thousand feet, and wielded a thousand clubs. The physical expression of Warrior II pose represents the focused attention and warrior strength required to prepare for battle. When we practice yoga, our mat becomes our battlefield, and our “enemy” becomes our mind. Over time, as we strengthen our bodies and our minds, we learn how to face and defeat all our challenges swiftly and gracefully.
Benefits Of Warrior II Pose
Warrior II pose strengthens the shoulders, arms, feet, ankles and legs, and stretches the ankles, legs, groins, chest and shoulders. Practicing Warrior II can help to aid digestion by stimulating the abdominal organs, and can relieve backaches. Warrior II also improves stamina, endurance, balance and concentration.
Warrior II Pose Step-By-Step
- Begin standing at the top of your mat in Mountain pose, or Tadasana. On an exhale, step your left foot back about 3 to 4 feet (depending on the length of your legs and the level of openness in your hips).
- Place your left foot parallel to the short edge of your mat (at a 90 degree angle), and line up the heel of your right foot with the heel of your left foot. Press down firmly through the pinky toe edge of your back foot to avoid collapsing into the arch.
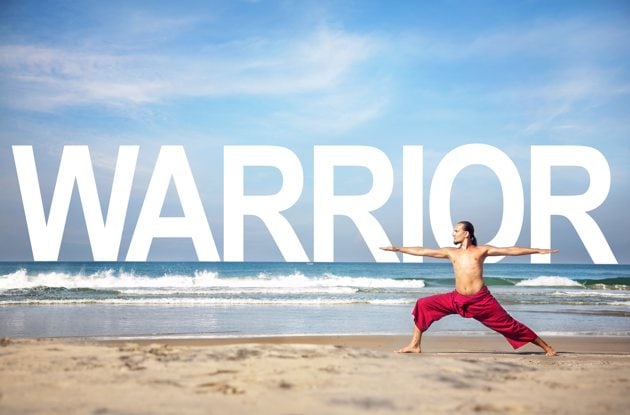
- On an inhale, extend your arms out alongside your body, raising them parallel to the floor with your palms facing down. With soft eyes, send your gaze just over the middle finger of your right hand and relax your shoulders down and away from your ears.
- Bend deeply into your right knee, stacking it directly over your right ankle and bringing your right shin perpendicular to the floor. Ensure the knee isn’t bowing out to the left or the right.
- Find the action of slightly scooping your tailbone under and opening your pelvis to face the left side of your mat.
- Draw your low ribs in to your body and keep your core gently engaged. Continue pressing through the pinky toe edge of your back foot, particularly through the outer edge of the heel.
- Remain in the pose anywhere from 5 to 10 breaths. On an inhale, extend your front leg and exhale to lower your arms. Step to the front of your mat and repeat on the other side whenever you feel ready.
Tips
- There’s often a tendency to lean slightly forward in this pose. Counter this action by stacking your shoulders directly over your hips. The back arm also tends to “droop” in this pose — actively reach out through the fingertips of both hands, finding one long line of energy across your arms.
- If balance feels difficult, or the pose feels too deep, decrease the distance between your feet slightly. Even with a shorter stance, ensure that the front knee doesn’t move beyond the ankle.
- To find the full expression of the pose, widen your stance and bring your front thigh parallel to the floor with your front shin perpendicular. Work on building the strength to remain here for 1 minute.